Creating Your First ARC Campaign: A Step-by-Step Guide
Ready to launch your book? Creating a campaign in RS ARC Manager is simple. This guide will walk you through uploading your book, setting limits, and defining your author details so you can start recruiting reviewers immediately.
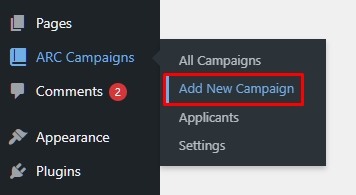
Step 1: Add a New Campaign
- Log in to your WordPress Admin Dashboard.
- Navigate to ARC Campaigns in the left sidebar.
- Click Add New.
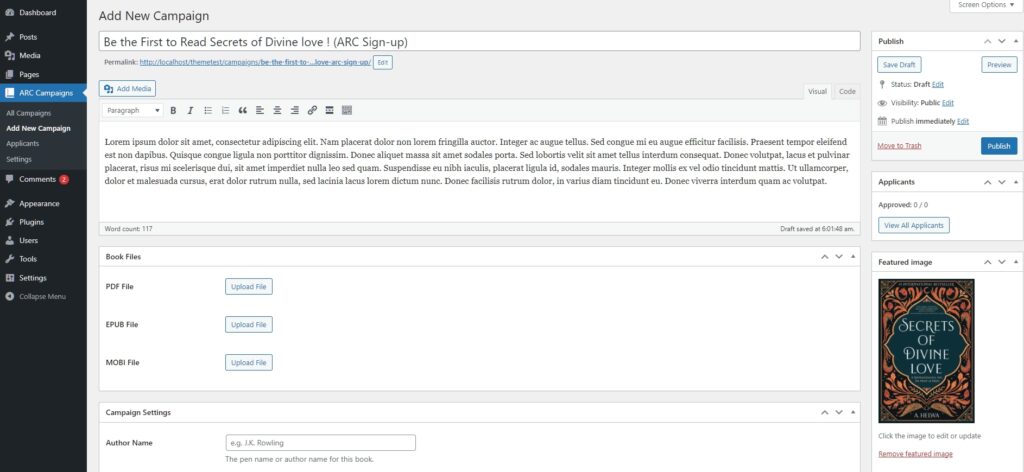
Step 2: Enter Book Details (Title, Description & Cover)
This section works just like a standard WordPress post, but it represents your book.
- Campaign Title: Enter the full title of your book (e.g., “The Lost City: A Thriller”).
- Description: In the main text editor, write your book’s blurb or synopsis. Make this catchy! This is what potential reviewers will read to decide if they want to apply.
- Featured Image (Book Cover): Look for the “Featured Image” box on the right sidebar. Click “Set featured image” and upload your high-quality book cover. This will be displayed on the campaign card and dashboard.
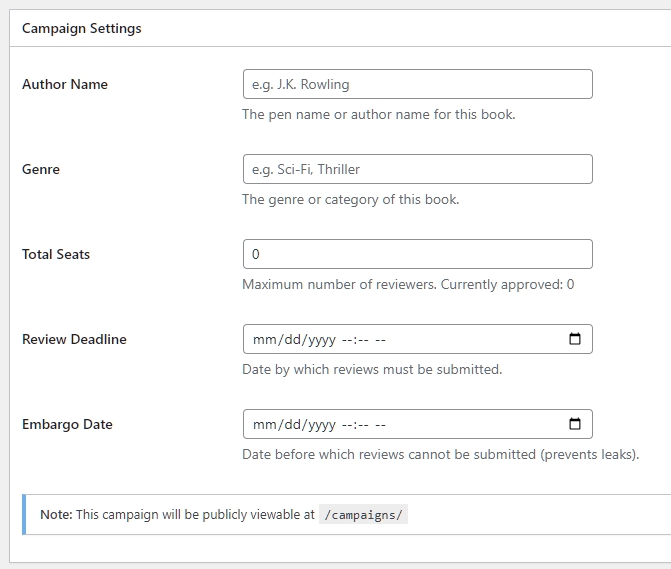
Step 3: Configure Campaign Settings
Scroll down to the “Campaign Settings” box. This is where you define the metadata for this specific book.
- Author Name: Enter the author’s name.
- Tip: This is useful if you are a publisher managing multiple authors, or if you use a Pen Name different from your WordPress username.
- Genre: Enter the book’s genre (e.g., Sci-Fi, Romance, Non-Fiction). This helps readers find books they love.
- Total Seats: Set the maximum number of reviewers you want to accept (e.g., 50 or 100).
- Note: Once this limit is reached, the “Apply” button will automatically disappear, and the campaign will show as “Full.”
- Review Deadline: Pick the date by which readers must finish the book and post their review.
- Embargo Date: (Optional) Pick a date before which reviews cannot be submitted. This is useful if you want to hold reviews until launch day.
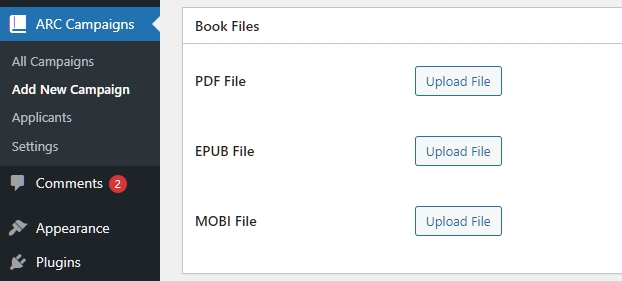
Step 4: Upload Book Files (Secure Delivery)
Scroll to the “Book Files” box. Here you will upload the actual book files that approved reviewers will download.
- PDF File: Click “Upload File” and select your PDF.
- EPUB File: Upload the .epub version (great for Apple Books/Nook).
- MOBI File: Upload the .mobi version (great for older Kindles).
Note: You do not need to upload all three. However, providing multiple formats makes your reviewers happier as they can read on their preferred device.
⚠️ Security Note: These files are protected. The plugin does not expose the direct link to the public. Only approved users can generate a secure, temporary download link.
Step 5: Add Retail Links
Where do you want reviews? Scroll to the “Retail Links” box.
- Paste the links to your book’s product page on Amazon, Goodreads, BookBub, etc.
- Why do this? When a reviewer goes to submit their review, the system will verify against these links and show them buttons labeled “Review on Amazon” or “Review on Goodreads” to guide them directly to your book page.

Step 6: Publish!
Double-check your information. When you are ready, scroll back to the top and click the blue Publish button.
Success! Your campaign is now live.
- It will automatically appear on your Campaign List page (if you set one up).
- You can now copy the URL and share it on social media to start recruiting your team.
Next Tutorial: [Configuring Deadlines & Embargo Dates]